Table of Contents
Globus
Globus is service for copying large amount of data over long distance using a web interface. Data is transferred between two endpoints 1). One endpoint can be your home directory created in the data storage CESNET and the other endpoint can be either another remote repository which support Globus or your workstation/laptop.
If you already have an account on Globus, you can skip part of registration.
Registration (create a Globus ID)
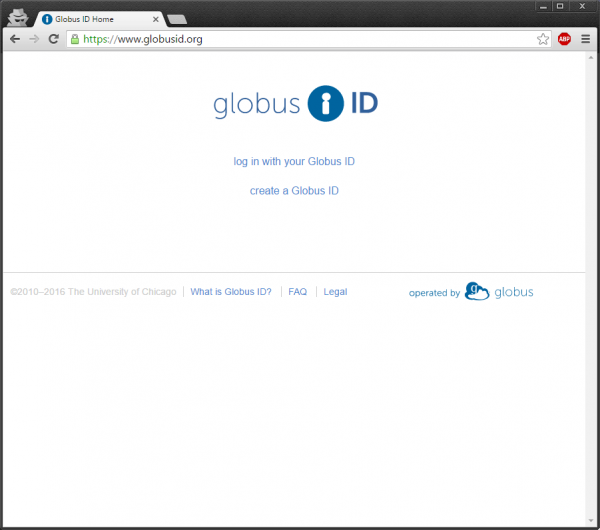
1) Insert address www.globusid.org into your web browser.
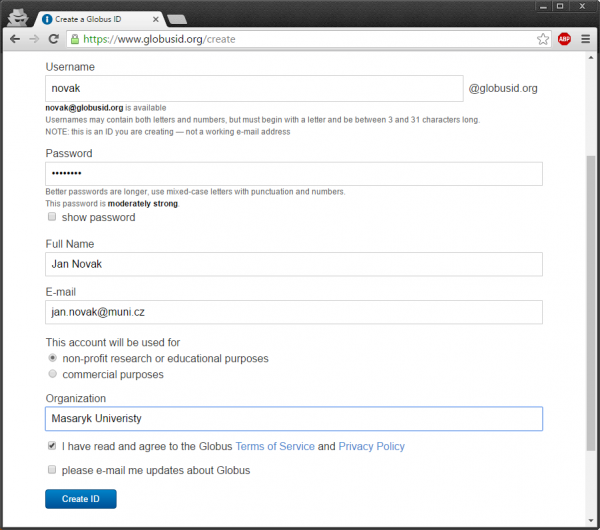
2) Please fill the registration form. There you can choose username and password, which will be used in step 8). After you have filled the form, please click on Create ID button.
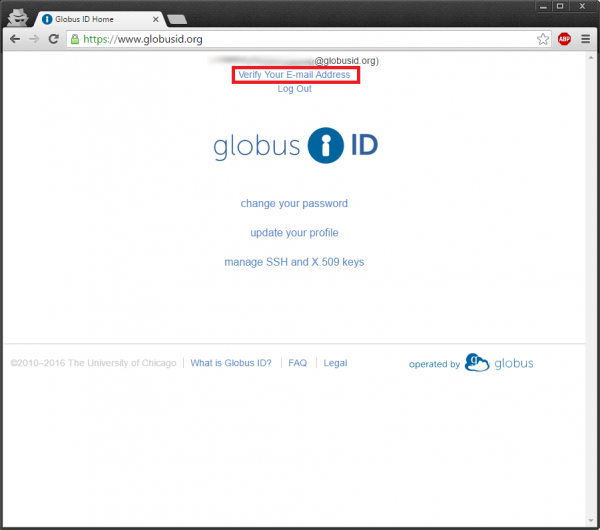
3) Now you must verify your email address. Please click on Verify Your E-mail Address.
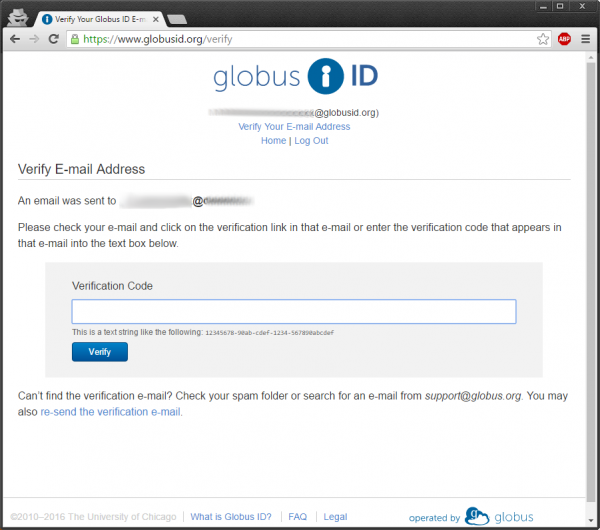
4) Now you should receive an email with verification code. Please copy received verification code into the field Verification Code and click on Verify button.
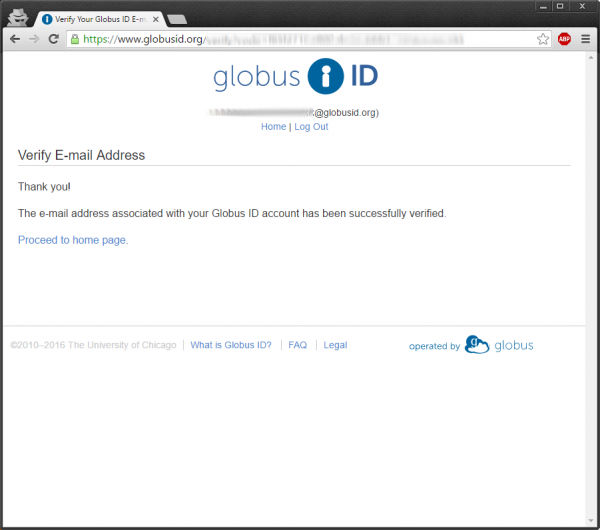
5) After successful verification of your email address you will appear on the following website.
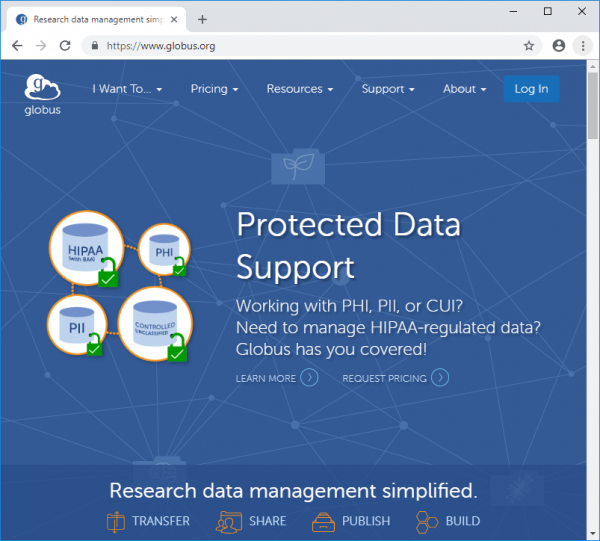
6) Now you have successfully created Globus ID and you can start with Globus service itself at www.globus.org. Please click at Log In button in the right upper part of the page.
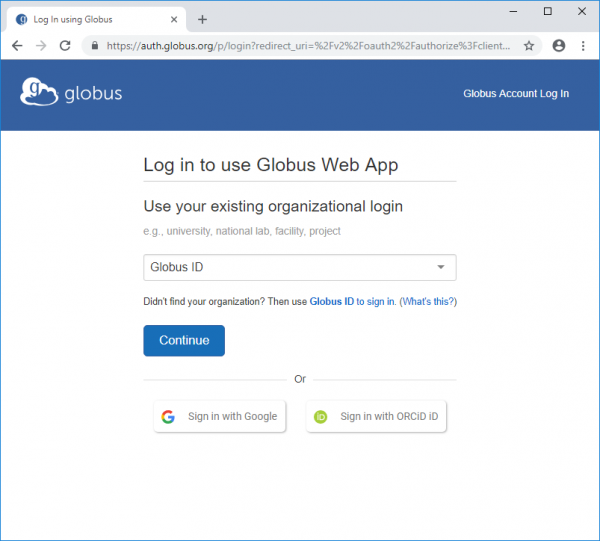
7) Now please choose Globus ID in the list of institutions and click on Continue button on the following page.
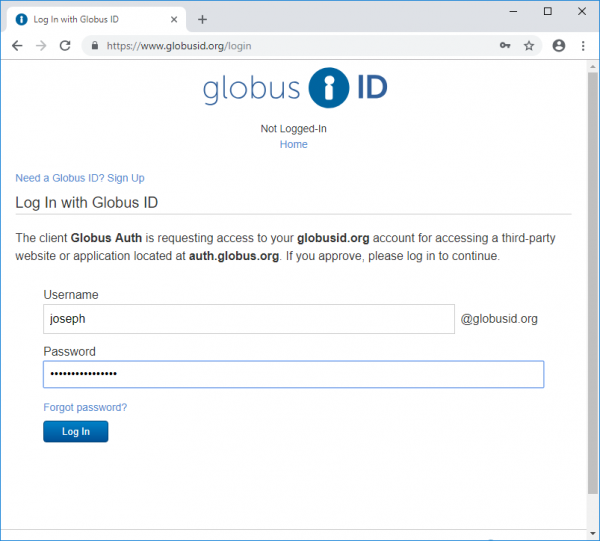
8) Now please insert your username and password, which you have set in the step 2.
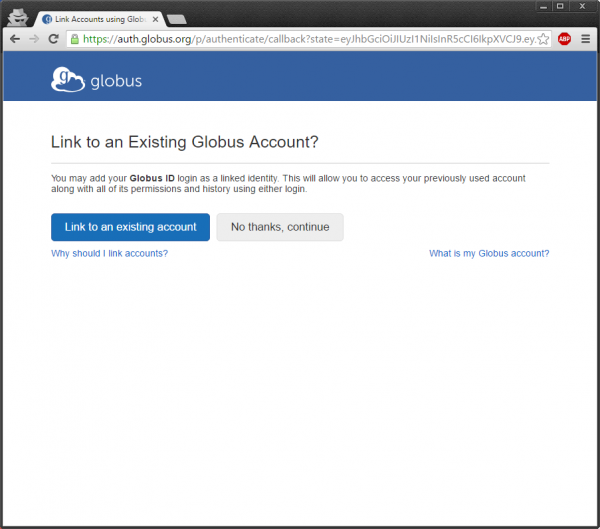
9) On the following page you can interconnect your Globus ID with another existing account, for instance Google - the advantage is, that you can use only one account for more services. In case you want to use only Globus ID, please click on the button: No Thanks, continue.
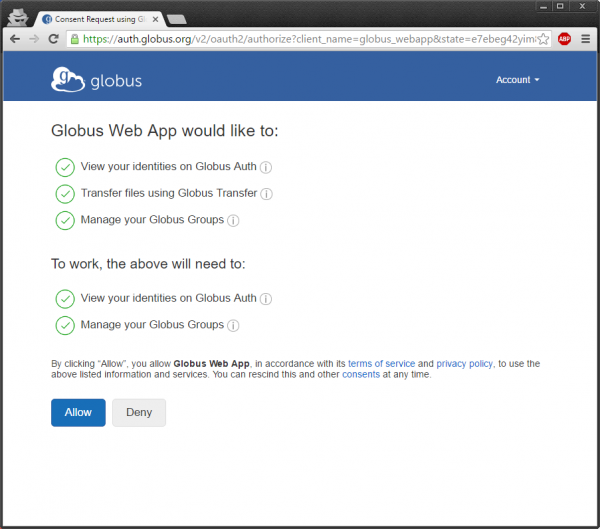
10) Now you have to allow Globus service to process your personal info. In case you agree, please click on the Allow button.
Transfer Files
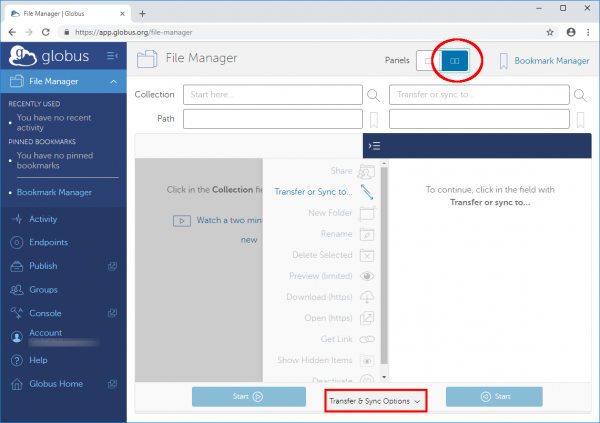
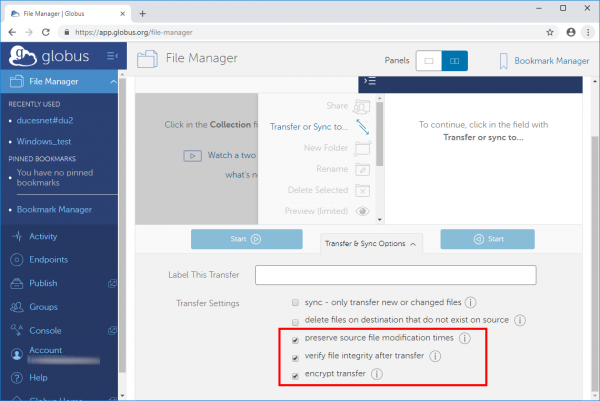
i) To transfer your data please click on File Manager button in the left menu. Then click in the upper side of the webpage on the button to show two pannel interface. Then continue on the bottom and click on the Transfer & Sync Options button.
Then continue on the bottom and click on the Transfer & Sync Options button.
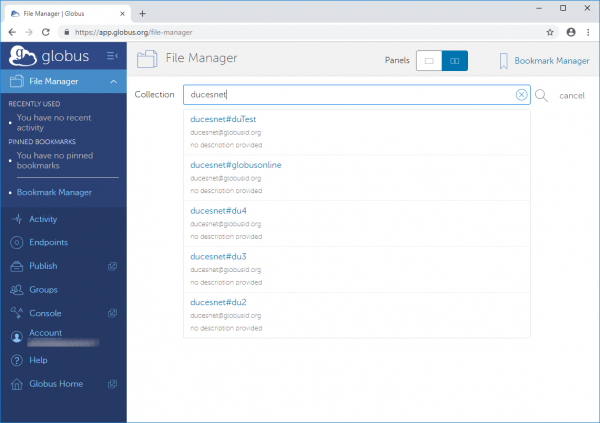
ii) Now please click in the Collection field and insert ducesnet, now you can choose certain CESNET data storage address from pop-up box.
ownCloud
FileSender
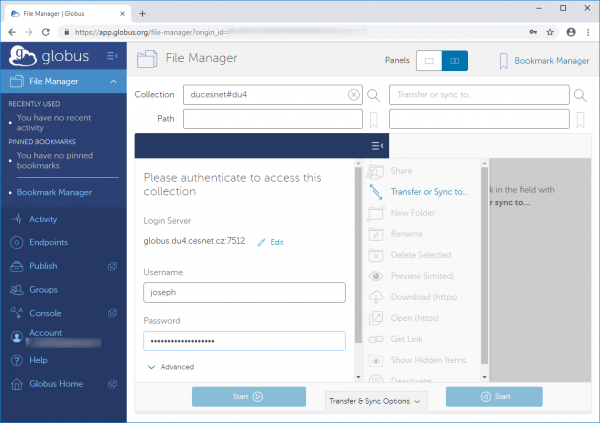
iii) From the previous dialog box you can select for instance ducesnet#gu4. You will be asked to enter your username and password for data storage access.
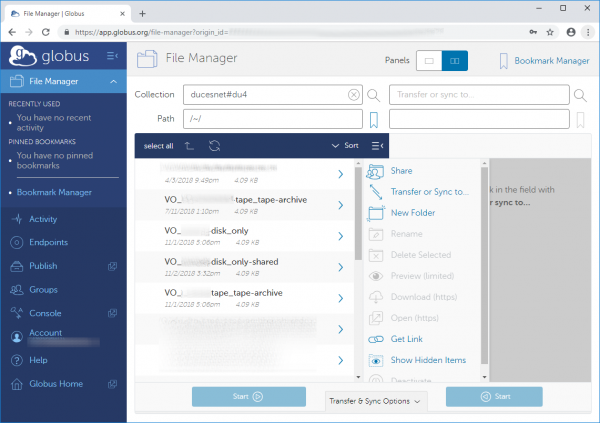
iv) There should appear the content of your home directory on the selected data storage after successful login.
v) In case you want to copy data between two remote data storage, you can repeat step [#bod_ii|ii]] for the second window and you can start with transferring your data.
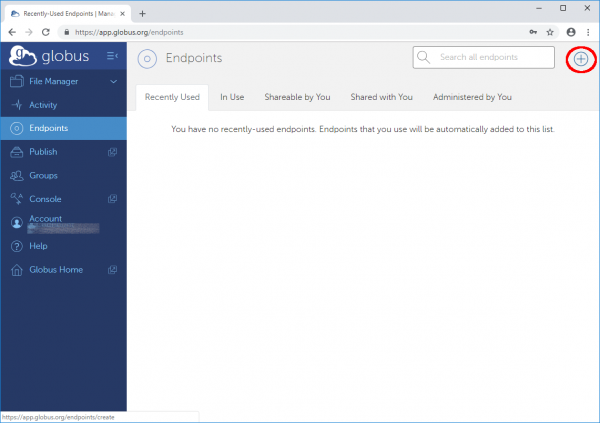
vi) You can also transfer your data between remote data storage and your local PC. To connect your local PC click on Endpoints botton in the left menu. Then in the upperside click on + button.
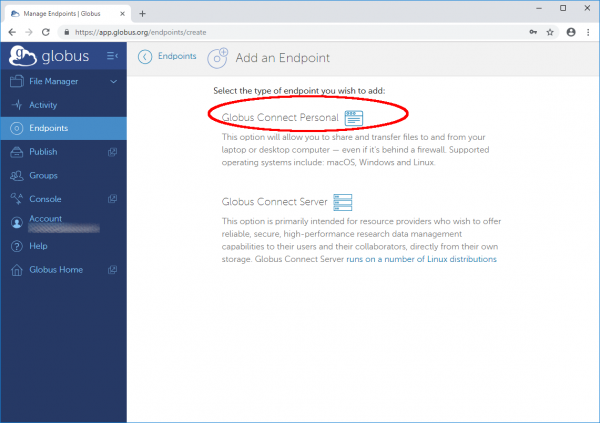
On the showed webpage, please click on the Globus Connect Personal button.
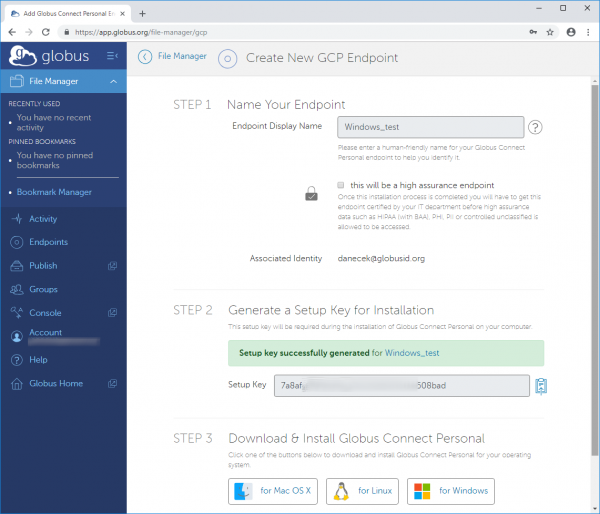
vii) In the following page in the STEP 1 you will be asked to choose your PC alias (here for instance Windows_test). In the STEP 2 you will generate the Setup Key for Desktop application (Globus Connect Personal). In the last step, STEP 3 you can download desired version according to your OS.
viii) After successful installation of the client application, you will be asked to insert the Setup Key generated in viii.
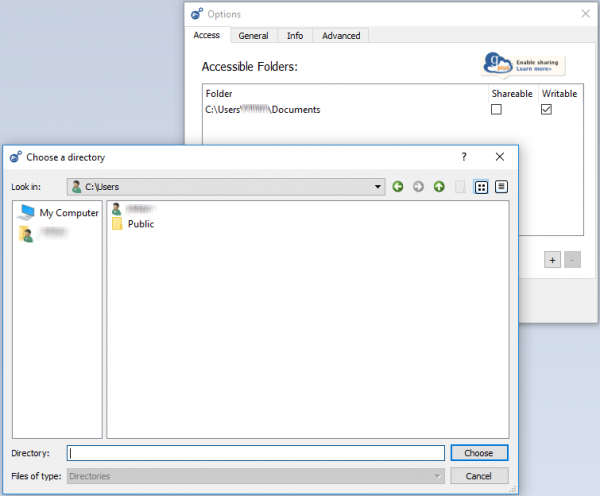
ix) After you have inserted the Setup Key and after clicking on OK button you will be asked, if you wish to modify the directory in local PC, where will be your data transferred from the endpoint in the chosen data storage (ducesnet#globus).
x) You can keep the default directory or you can click at Yes, Modify Settings button. Afterwards you can select any folder in your local PC.
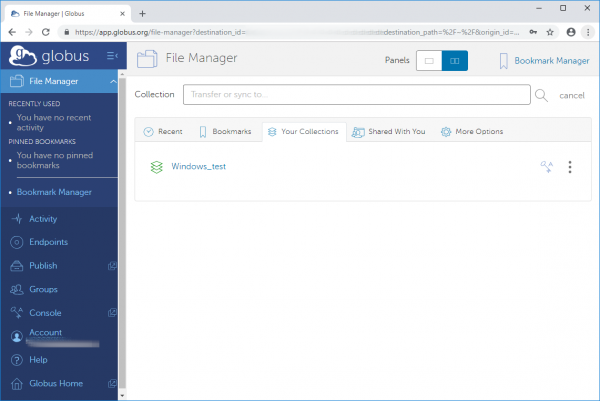
xi) Now we will go back to the Globus web interface, where we need to set the second endpoint. Please click into the Collection field in the second panel. There will appear pop-up dialog box. You can click at Your collections bookmark and there you can select your PC alias - Windows_test, which you have set in the step vii.
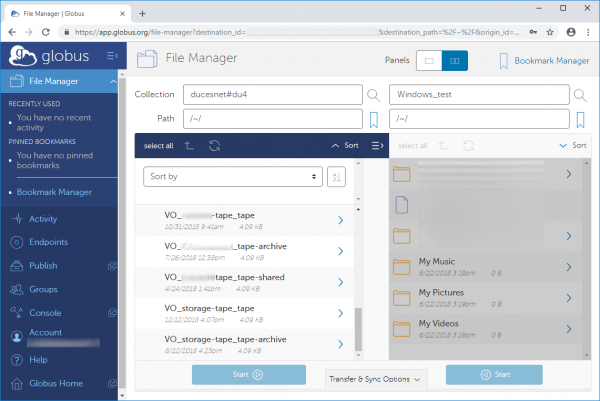
xii) After you select your PC alias both endpoints are set up, so you can start with your data transfer.
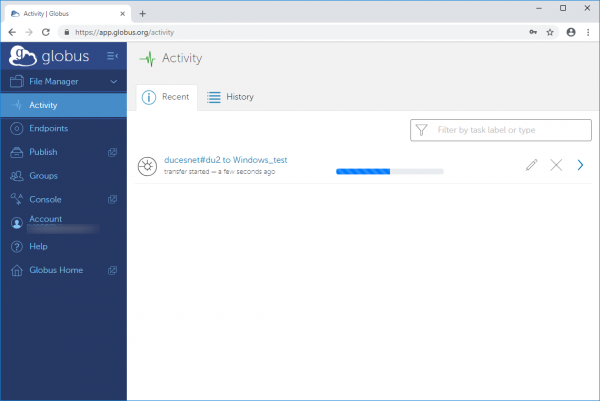
xiii) You can observe data transfer activity, just click at Activity button in the left menu.
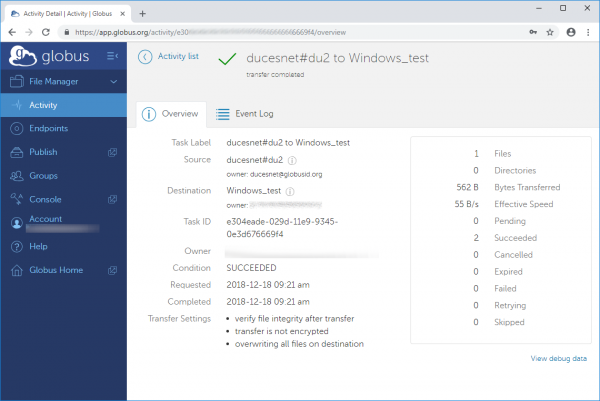
xiv) If you will click on certain activity you can see further details.
