FileSender
What does Filesender service provide?
FileSender is a single-purpose web service used for quick and easy sending large files up to hundreds of recipients.
This service is primarily intended for sending data that has scientific or/and educational character. Organizations from eduID.cz federation, universities, libraries, scientific institutions and students are the target group for this FileSender service . This is simple, single-purpose application. It can upload files of authenticated users over eduID.cz federation and also allow sending time-limited invitations for uploading files for people who don't have account in eduID.cz federation.
FileSender's user can define a list of recipients email addresses after uploading the file into the data storage. Selected recipients will receive the message with the link to desired file. Downloading of desired file located in data storage is protected by the knowledge of correct URL. Via web interface is possible to see the file list, which you can remove or re-share. Each file stored in data storage using FileSender service has an expiration period. This expiration period can be set up by the user. In case of expiration period exceeding the file is automatically removed. User, who has uploaded the file, is notified via email about each download of that file.
First logging into the CESNET e-infrastructure
CESNET e-infrastructure services use a unified user management system (if technically possible) for managing user access. In case you haven't used Data Storage services nor MetaCentrum facilities so far, you will be asked to register your identity into the CESNET e-infrastructure. You may be asked to do so if you accessed those services using a different identity than you trying to access ownCloud. Should you have more identities in academic institutions, you can (in fact, you are strongly recommended to) connect them into a single one (so that the e-infrastructure recognises that, e.g. jan.prochazka@cesnet.cz is the same user like jan.prochazka@cvut.cz).
How to sign into the e-infrastructure and to register to ownCloud:
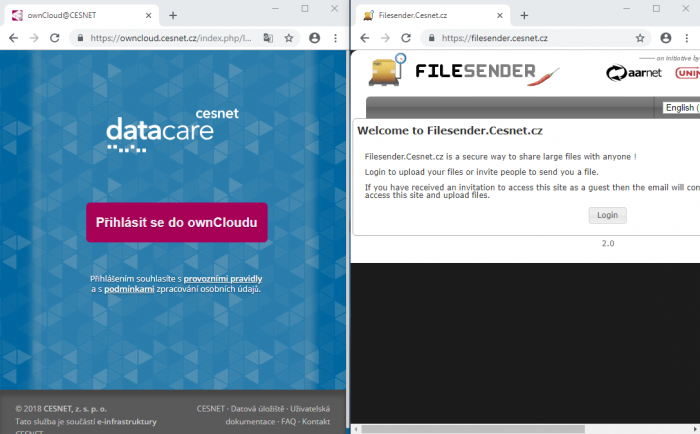
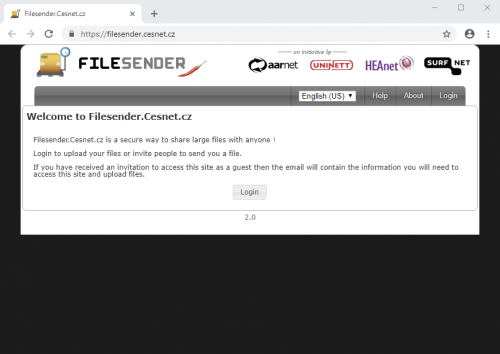
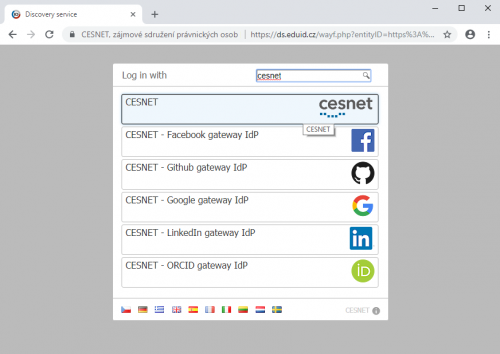
1. Visit https://owncloud.cesnet.cz or https://filesender.cesnet.cz in your web browser and click on Sign In to ownCloud button or Login button in case of FileSender service. Select your institution from the list and log in using your credentials as usual.
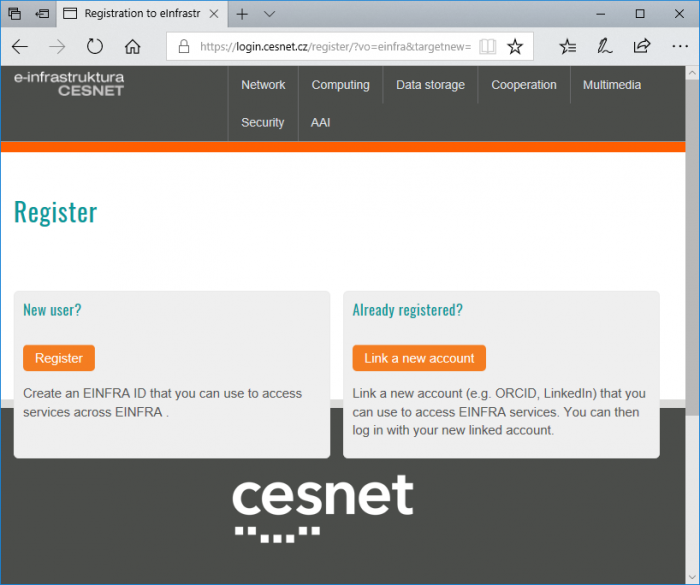
2. On the following page, click Register in the “New user” section.
If you are familiar with identity management in the e-infrastructure, you can connect your account with another existing identity (identity which you used to connect for instance to the MetaCentrum). This can be done later, so if you have no idea what this paragraph is about, just continue to the following item, no harm will be done. If you wish to consolidate your identities, please click on Link a new account in the section “Already registered?”. Then you will be redirected to the page where you can select the other identity. Then you sign in again and then the system will connect both identities into one.
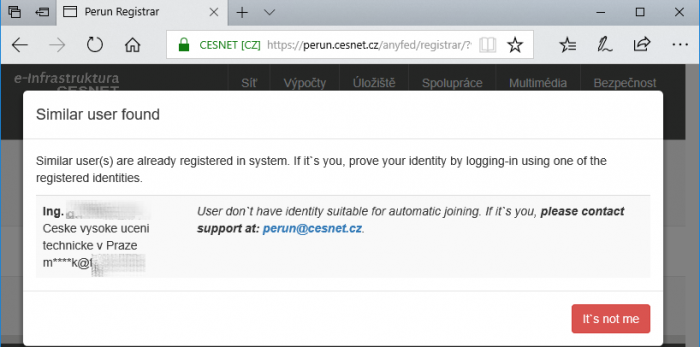
3. After choosing registration as a New user, the procedure will be as follows. The app will search for registered users (existing accounts). If there is any user with the same attributes as yourself, the app will offer you joining both accounts into one. List of identities that have been recognised as possibly yours will be shown in the dialog box. If this is correct, you are advised to join the identities.
In case none of those identities belongs to you, please click on the It's not me button.
If the system found your identities, but it indicates that they cannot be merged automatically, contact the user support as you are advised by the system.
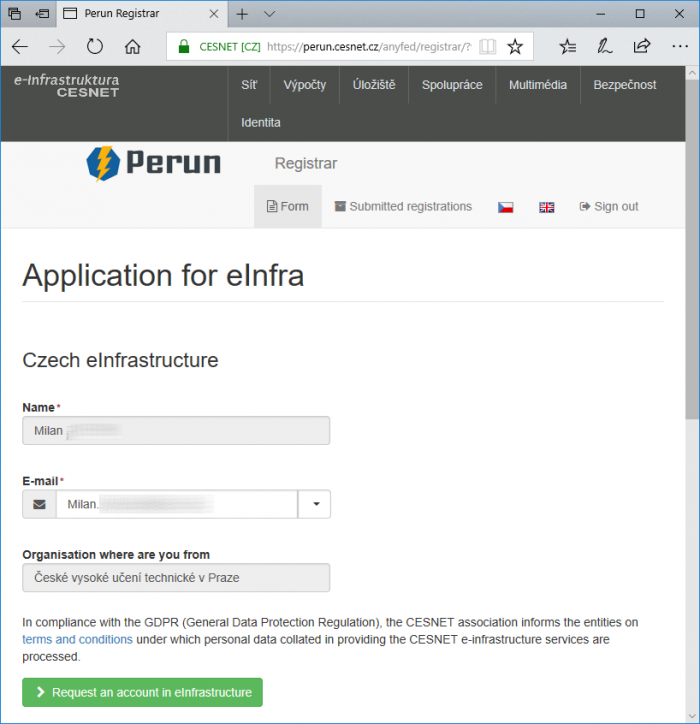
4. In the following page, a short form with prefilled attributes (name, email, …) will appear. In the end of the form please click on the Request an account in einfrastructure button.
5. In the next page, your registration will be confirmed. You are now member of einfra. Simultaneously you will receive a confirmation email. Your registration will be immediately approved, which is stated by another email confirmation. Now you can continue by clicking on the Continue button. Now you will be redirected to the required service.
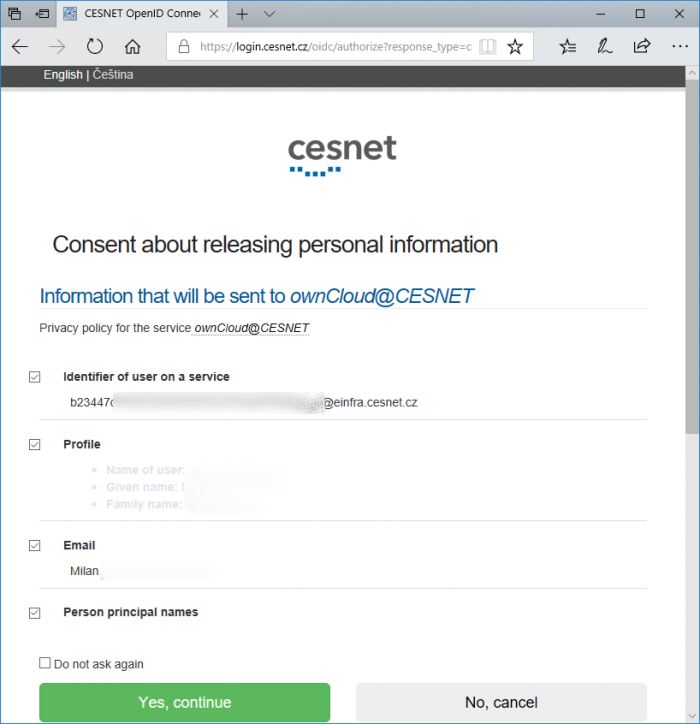
6. Now you are requested to agree with releasing attributes that are necessary to use the ownCloud/FileSender service.
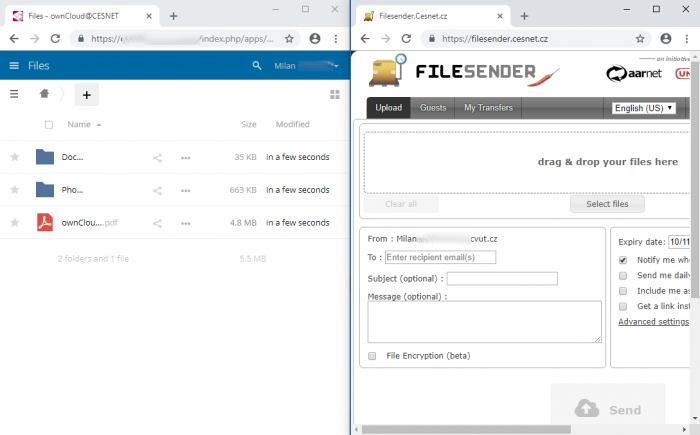
7. After clicking on Yes continue button, you will be redirected to ownCloud/FileSender itself and you can start to use it.
How can I use FileSender service?
The service for file sending can serve you or anyone else, who will obtain a permit to use this service from you (it means you will send an invitation via email).
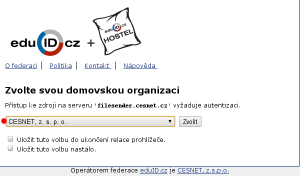
Choose your home organization:
A) Now you are logged in and we will demonstrate how to upload file in case you have an account in the eduID.cz federation.
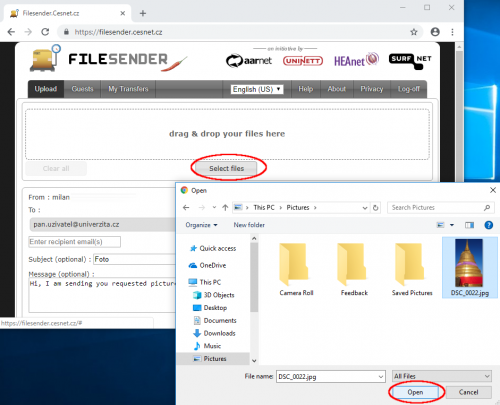
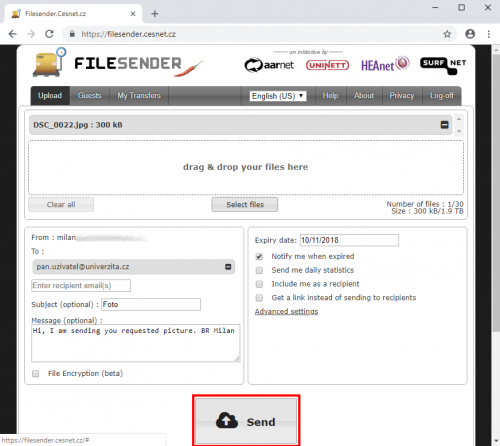
Please enter the recipients for sending the file. Then pick the file from you local drive.
Send the file.
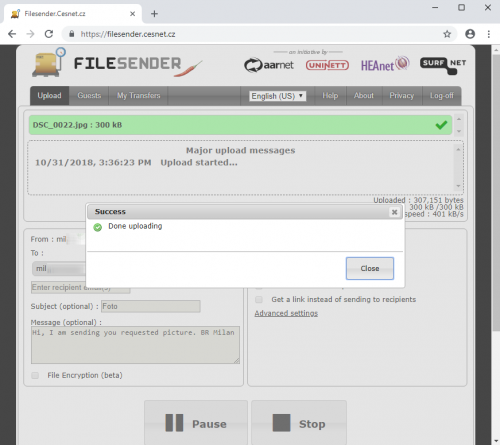
There will appear notification about successful upload.
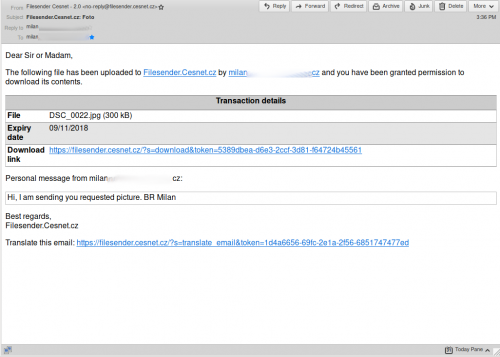
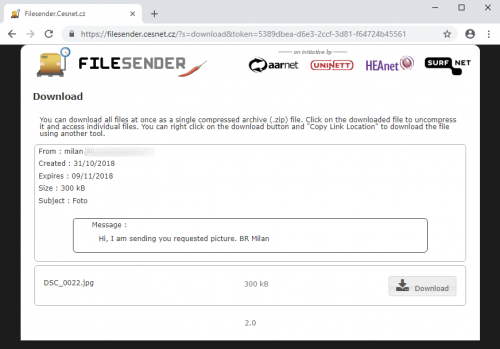
The recipients will receive email with a link, where they can download the file.
The link will redirect the recipients to the website, where they can download the file.
B) Now we will demonstrate, how the send the file to someone, who is not eduID.cz federation member. So this person can use FileSender service as well.
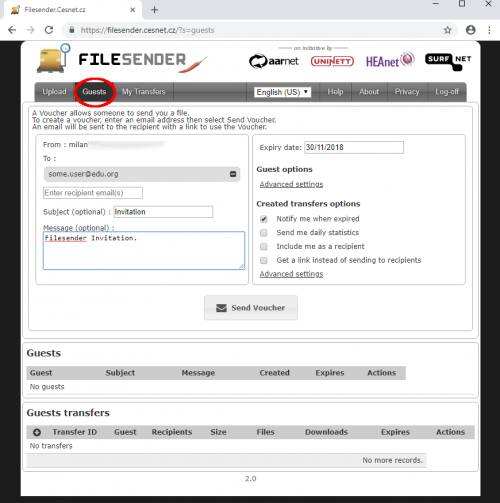
Click at **Guests** button on the top part of FileSender dialog box. Now enter the recipients, which you want to authorize to use FileSender service, and then send.
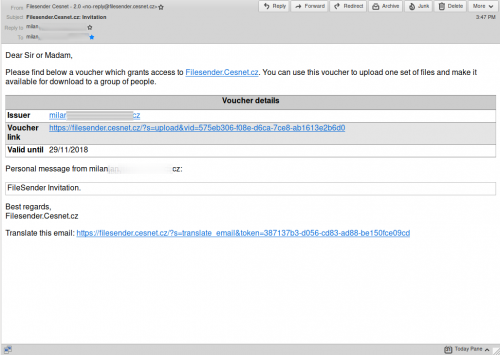
User will receive an email with link to FileSender service.
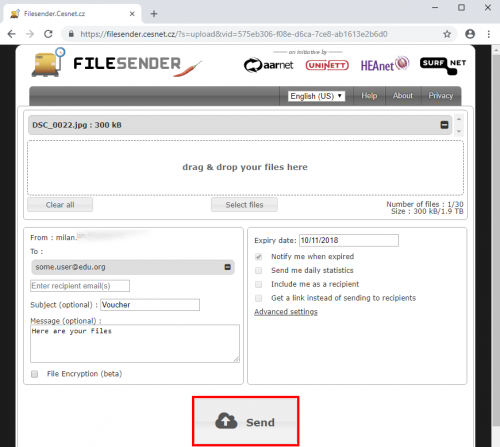
After the user click at the link listed in the email, he will be redirected here:
FileSender FAQ
Internet Explorer 6 is using vulnerable SSLv3. By the reason of keeping the security, our servers require TLSv1.0 and higher. Thus it is necessary to use web browser, which doesn't use SSL, but TLS.
Sending notification to multiple recipients
Problem description: How to send notification in FileSender to multiple recipients about storing a file?
Solution: Separate the email addresses of recipients by comma.
Sending multiple files
Problem description How to send multiple files?
Solution:
You can choose between two choices to achieve sending multiple files at once. One choice is to create an archive using WinZip, tar, etc.
The second choice is to use a testing version of FileSender (filesender2.cesnet.cz). Because this is the testing version we can't assure the behavior of this instance. If you find a bug or strange behavior, so contact us at support(at)cesnet.cz.
FileSender requirement for your browser
Problem description What are the FileSender requirements on your browser?
Solution: Your browser must support HTML5 or Adobe Flash technology (Using Adobe Flash you can upload file sizes only up to 2GB).
Error notification in FileSender
Problem description What to do if you receive following message in FileSender:
Solution:
We are sorry but if you want to use the FileSender service, your account must be verified.
For more information how to verify your account, please visit https://eduid.cz.
If you have account in the academic identity federation eduID.cz and the FileSender shows you still same message as is mentioned above, please visit this page https://filesender.cesnet.cz/simplesaml/module.php/core/frontpage_auth.php
then choose:
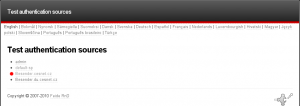
- Test configured authentication sources
then click on filesender.cesnet.cz
then pick your organization (institution)
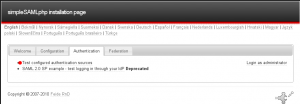
now please send screenshot of the output screen to: support(at)cesnet.cz This page will look like fig. below.
Expiration time for data sent via FileSender
Problem description How long is the maximum file expiration period in FileSender?
Solution: Current version of FileSender allows to store data along one month period.
API and command line file upload
Description of the problem: Is it possible to upload files in a different way than via the web interface, i.e. directly from measuring or computing machines?
Solution: Yes, if the system has the ability to use the command line and python version 3, it is possible to use the offered script directly in the FileSender interface. You can find this script after logging in to FileSender under your user account (authentication via eduID) in the “My Profile” section and the “Python CLI Client” section, where you can download 2 files - the python script itself and the configuration containing the API key as well. which we upload to the path of our home directory ~/.filesender/filesender.py.ini . The script can be used without a configuration file, but at least the API-key and “User identification” (format abcdefghijklmnopqrstuvwxyz0123456789@einfra.cesnet.cz) must then be used as parameters on the command line. (this identifier can be found in the system Perun tab user - authentication - Login in EINFRAID-PERSISTENT)
Sample upload with downloaded and correctly placed configuration file:
python3 filesender.py -r abcdefghijklmnopqrstuvwxyz0123456789@einfra.cesnet.cz uploaded.file1 uploaded.file2
Sample upload using an API key:
python3 filesender.py -a 1234567890123456789012345678901234567890123456789012345678901234567890 -u abcdefghijklmnopqrstuvwxyz0123456789@einfra.cesnet.cz -r e-mail@recipient.com uploaded.file1 uploaded.file2

