en:navody:perun:vytvoreni_servisniho_uctu:start
Managing service user account
This manual includes instructions for this use-case only. If you use other instructions you can cause unwanted functioning of system.
For specific needs of Data Care Department please do NOT select your username such, that begins with VO_, e.g. service user account backup for VO_xyz should have login xyz_backup. The rule that all logins should have lower case letters based on US alphabet (i.e. without special characters, which are presented in some special languages) is very important as well.
Creating service user account
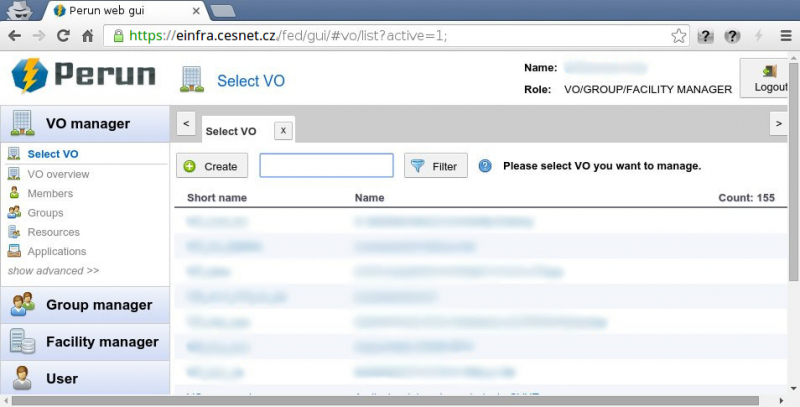
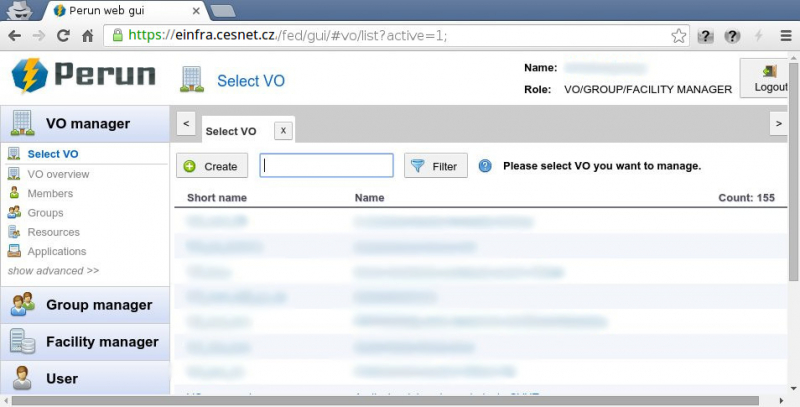
- Please log in into the Perun system and then go to the
 VO Manager section.
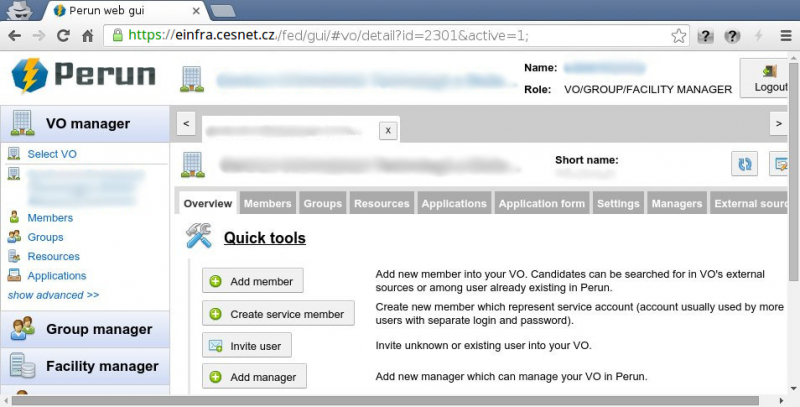
- Please choose the desired VO, where would you like to create a service user account.
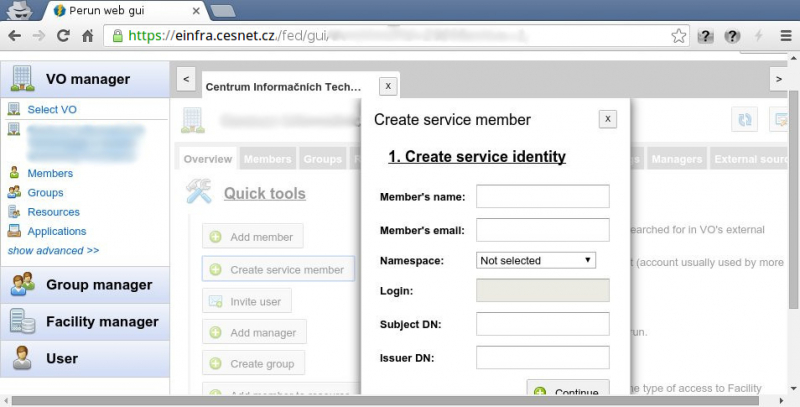
- There will appear new dialog window 1. Create service identity, where is necessary to fill an account info.
- you have to enter:
- Member's name - a name describing service member to identify him (something to identify, not necessary name and surname)
- Member's email - please insert the email, which will be preferred for the service user account. In case you don't want to receive any emails you can insert for example nomail@metacentrum.cz so as emails sent to this address will be automatically deleted.
- if you want to have login for service member then enter:
- Namespace - choose namespace from popup menu with possible namespaces. It must be the same namespace as namespace where service member account is going to be used.
- Login - logname of new service member in selected namespace. Some VOs has own rules how to construct login. For example VOs associated to Data Storages require name always beginning with name of VO, e. g. the service account backup for VO_xyz will have login xyz_backup.
- if you want service member to use certificate then:
- choose Not selected option for Namespace
- Subject DN - DN of certificate
- Issuer DN - DN of certification authority
- otherwise leave it unfilled
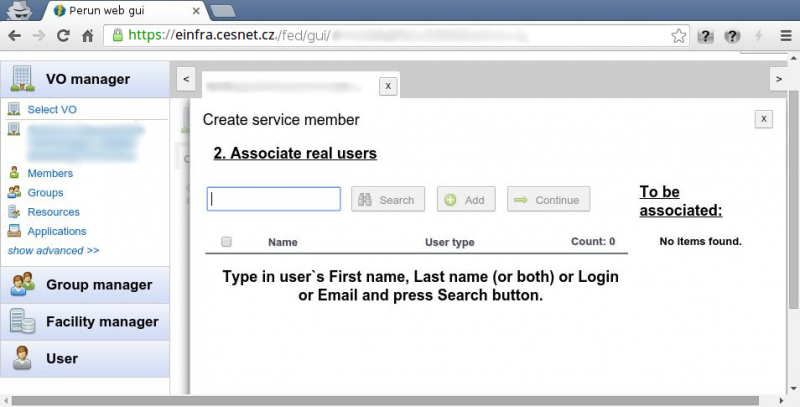
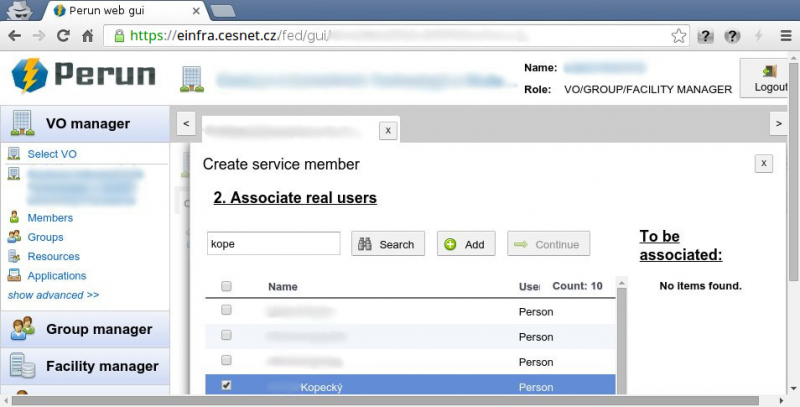
- In the following dialog box 2. Associate real users:
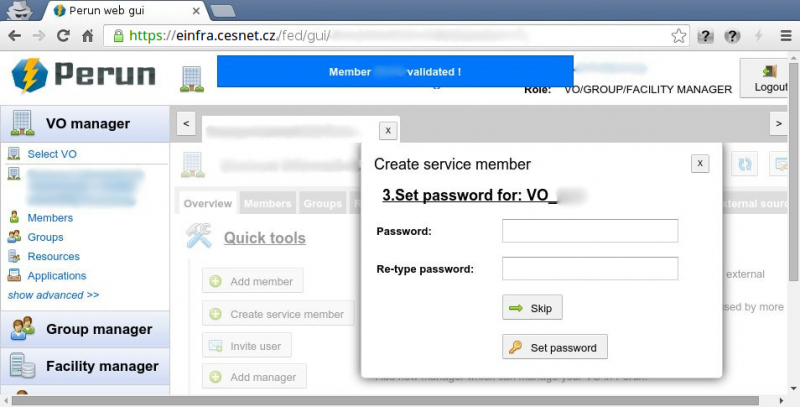
- The following dialog window 3. Set password for: logname have to be filled only if logname for service account is required.
- Please insert the password into the Password field and then repeat it once more in the Re-type password field.
- Then click on the Set password button.
All changes made in the Perun system will be active in one hour. Thus executed changes are not immediate!!!.
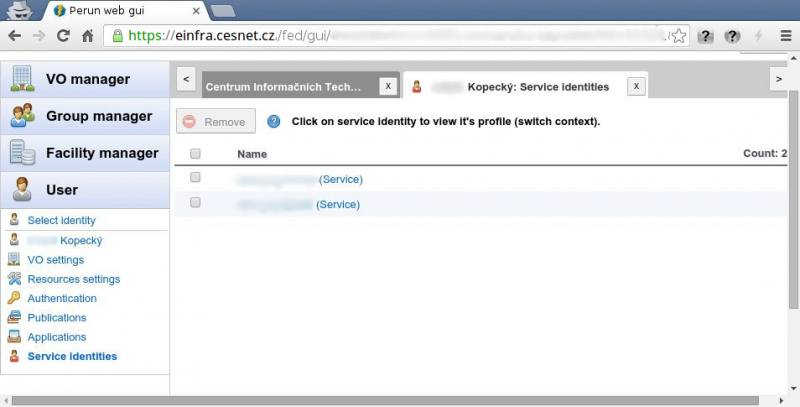
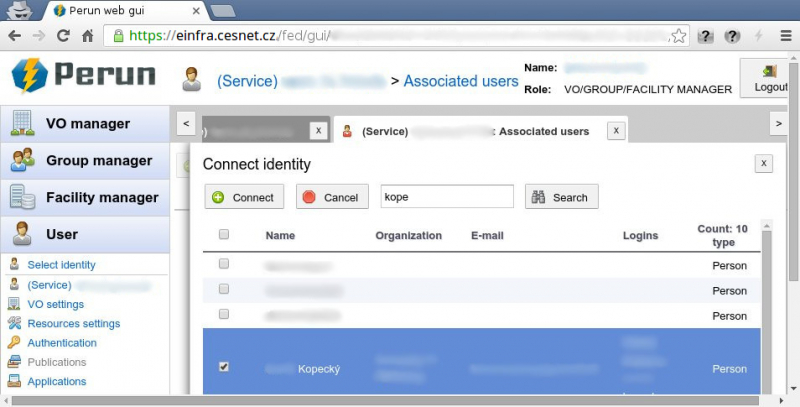
Adding associated user to the existing service user account
This manual includes instructions for this use-case only. If you use other instructions you can cause unwanted functioning of system.
- Please log in into the Perun system and then go to the
 VO Manager section.
All changes made in the Perun system will be active in one hour. Thus executed changes are not immediate!!!.
Last modified:: 14.12.2017 10:30

