en:navody:perun:zalozeni_skupiny:start

Creating group

This manual includes instructions for this use-case only. If you use other instructions you can cause unwanted functioning of system.
  • Please log in into the Perun system and then go to the VO Manager section.
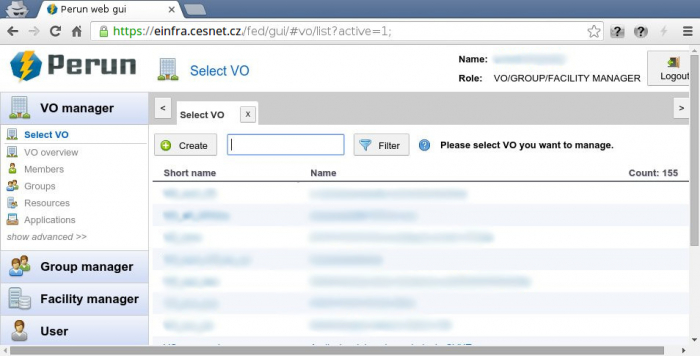
  • On the left panel please click on Select VO. Now you can see the list of the VOs under your administration.
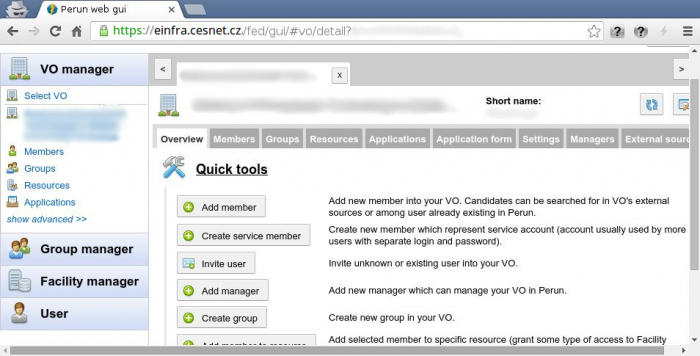
  • Please choose the desired VO, where would you like to create a new group. There will appear a new panel with the VO settings.

.

  • Please click on the Create group button on the Overview bookmark.

.

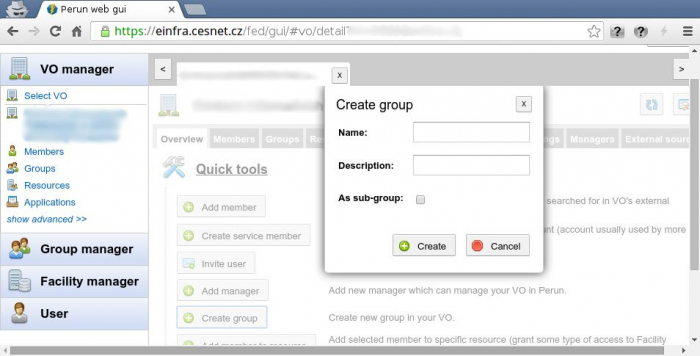
  • There will appear new dialog window, where you can insert:
    • Name: Please insert the desired group name. Name of group can be whatever, but you shall keep conventions in your VO.
    • Descriptions: Here you can insert your own group description to specify its purpose.
    • As sub-group: You can check this if you wish to make this group such a subgroup of any existing group from the scrolling menu. Then you can choose the parent group of your newly created group in the field Parent group.
    • Then you can click on the Create button.

Now the group is ready and you have to assign particular Resources to it

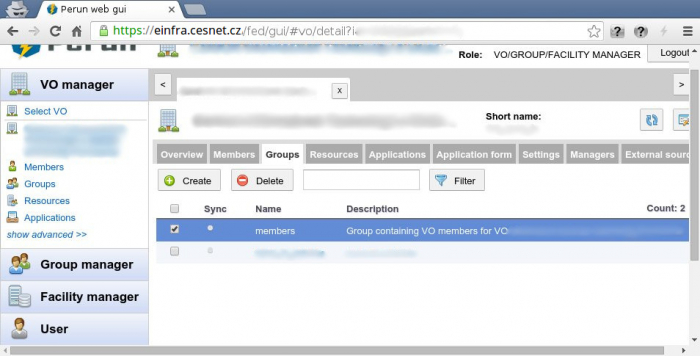
  • On the left menu please click on Groups button and select particular group, which you wish to assign resources.

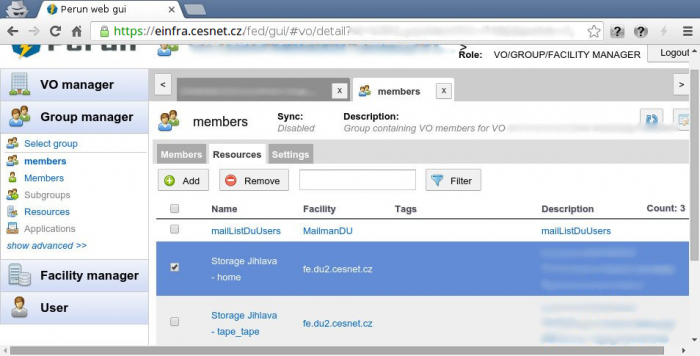
  • There will appear Group settings, now please click on Resources bookmark.
  • On that bookmark please click on Add button and from viewed list grab required resources. (Please always select resources named HOME) In case of Brno du3:home:vo_name for Ostrava du4:home:vo_name and for Jihlava du5:home:vo_name.
  • Resource will be selected by ticking corresponding field and your choice will be confirmed by clicking at the Add button.
If you create new group and you have currently resources in Brno and Ostrava Data Center, please do not forget to assign Ostrava resources as well (e.g. du4:home:vo_name). This step is related to the migration and decommission of the old Data Storage in Jihlava and Brno.

Now it is necessary to assign GID to the group, so created group can by propagated onto required Resources.

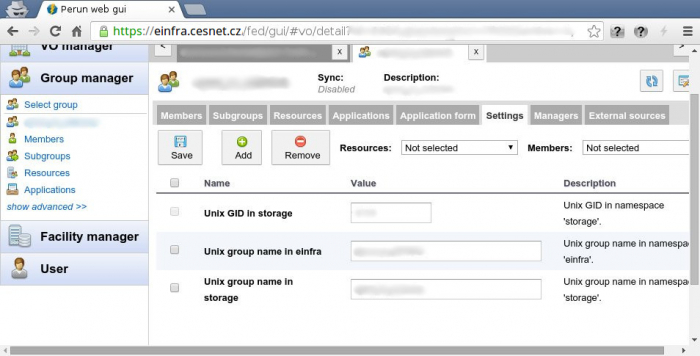
  • Now you can continue on the bookmark with group settings, please go to Settings bookmark. In case you have closed group settings already then go to Group manager section on the left panel and then click at Select group button and select the particular group, which you wish to set up.

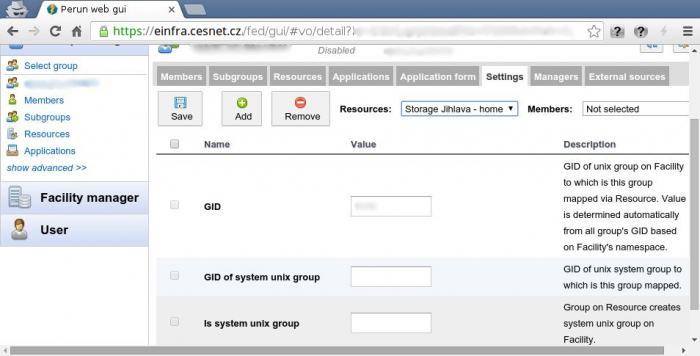
  • From the scrolling menu Resources please pick your Resource. In case of Brno data storage pick du3:home:vo_name for Ostrava du4:home:vo_name and for Jihlava du5:home:vo_name.

  • Please click on Add button.
  • From the list of variables find the item Unix group name in einfra and please fill the name of the group in the corresponding field. That group name must be the same as that one, which you set up in previous step. Now you can save the changes by clicking at Save.
  • After clicking at Save button there should appear the value in GID field (GID of unix group).

Last step is to fill the group with users

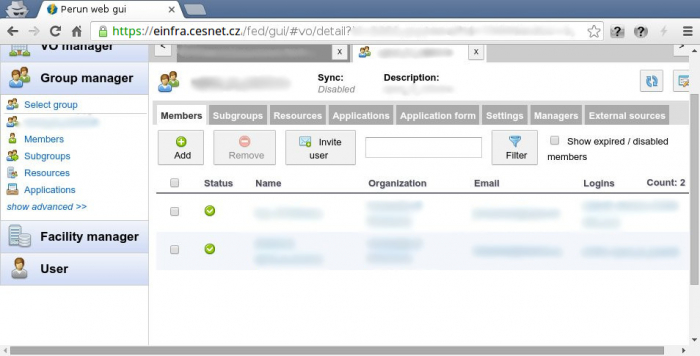
  • Now you can continue on the bookmark with members settings, please go to Members bookmark. In case you have closed group settings already then go to Members section on the left panel and then click in sub-menu for particular VO at Group manager and select the group, where you wish to add user.

  • Now please click at Add and by using Search filed find the user, which you wish to add.
  • In case you wish to add more users, please continue with searching and adding the user as it is mentioned in previous step. You have to confirm the selection by clicking at Add button.
  • If you found particular user, then tick the field nearby his/her name and click on Add button.
All changes made in the Perun system will be active in one hour. Thus executed changes are not immediate!!!.
Last modified:: 16.07.2019 13:50